Track Changes
TRACK CHANGES is a very useful feature when you need to know exactly which changes you have made since the last save. It is also useful for your thesis supervisor to suggest changes to your paper in electronic format (rather than writing them in red ink), changes which you may either accept or reject.
In the following lines I will refer exclusively to the second activity: Viewing your Supervisor's changes and accpting or rejecting them.If you use Word 2007 or Word 2010, then go to the end of this page, view some of the external tutoraial to learn how to start Track Changes in those versions, and then return here, to better understand the logic of this instrument.
TO SEE YOUR SUPERVISOR'S CHANGES:
You need to turn on the feature TRACK CHANGES in MS Word. There are 2 alternative ways to do that, and you may choose whichever seems more convenient to you.
From the left to the right the buttons are:
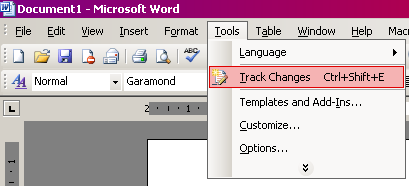
Option 1. Select TOOLS from the menu.
From the scroll-down menu, now select TRACK CHANGES.Option 2. As this menu suggests, you may turn on Track Canges by using the combination of keys (hotkeys) Ctrl-Shift-E.
Once you turned on Track Changes, an additional toolbar (called the "Review toolbar") appears beneath the other toolbars on top of your document. It looks like this in context: .
Let's take a closer look at it:
Let us now focus on the first button, Display for review:= Display for review. Chooses among: viewing the changes or not; viewing them in comparison with the original or with the final (modified) document.
= Show. Further chooses to show on screen the deletions, the additions, the annotations to the text.
= Previous and
= Next buttons. Navigate from one change to another, backwards (previous change) or forward (next change).
= Accept change. Agree with the modification and make it permanent.
= Reject change. Cancel the modification.
= Insert comment. In case you may wish to add comments at this point.
= Spell checker.
= Activate Track changes. Turns on and off the registration of the changes you will be making.
= Review pane. In case you do not see too well the changes in the baloons on the page margin, you may use this button to view the changes in a special window at the bottom of the page (in the manner of footnotes).
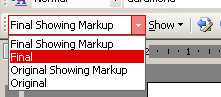
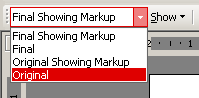
If you click on its small triangle, a small menu will scroll down, like this:
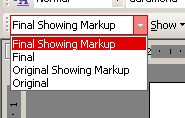
The four options here are four ways to display the text.
Let us take a closer look at each of these 4 options. Please notice how the text below is displayed differently in the 4 views:
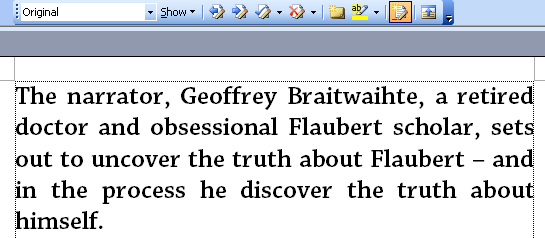
1. Original
When you select Original,
like this:
you will have a view of your original text,
before it was modified
(either by yourself, or by your supervisor).
You may note here
a few mistakes: Braitwaihte misspelled,
doctor should be replaced by physician, he discover lacking an S.
Besides, to discover appears instead of to uncover,
and the word himself lacks italics..
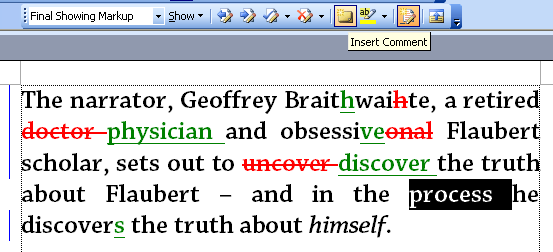
2. Original showing markup
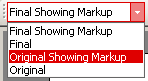
This will highlight the changes made by your supervisor, comparing them against your original text. . From this point on, you will be able to see the changes made by yiur supervisor, as follows:
Replacements appear as RED + BLUE (red for the word that was deleted, and green for the newly introduced word).
- Blue sidebar = identifies all lines that have some modification
- Green underline = new text inserted
- -
Red strikethorugh= deleted text- Blue = formatting change (such as addition of italics, modifications of paragraph shape)
None of these colours affect the aspect of the printed document. They can be turned off at any time.
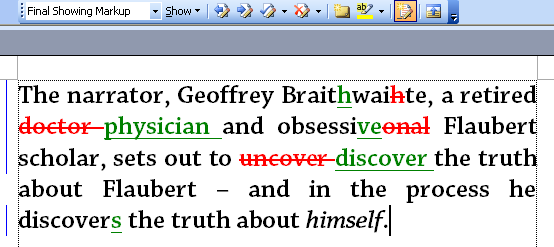
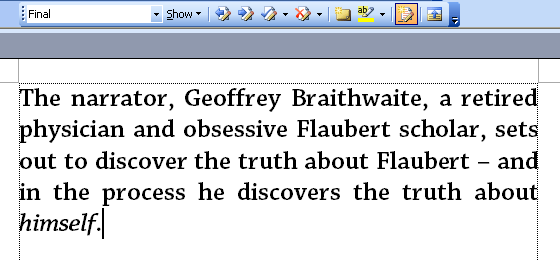
3. Final showing markup
Now the changes are highlighted against the final version (the one you have received from your supervisor). This is the most useful view, and the one I advise you to use to see your supervisor's changes.
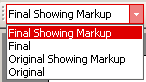
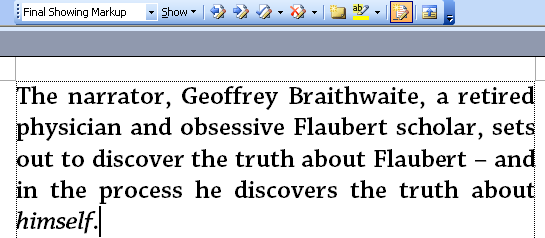
. 4. Final
This shows the text as you have received it from your supervisor.
TO ACCEPT OR REJECT THE CHANGES
Now, we will work in the Original showing markup mode, which best hightlights the modifications against your original text.In order to review, accept or reject these changes, do as follows:
Move your cursor to the beginning of the document. Then press NEXT
. Note how one chnage in the document is highlighted: a missing H was inserted in the name BraitHwaite.
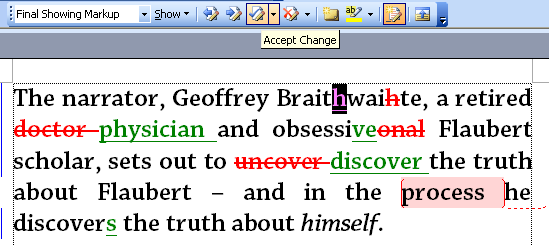
Now press the ACCEPT CHANGE button
If you are a very docile yesman, then you may choose to accept all changes without going step by step.
. Not very recommended thoug. After all your supervisor might be wrong too, or might have misunderstood your original idea.
If you disagree with the change, then just press the Reject Change button
In the above case, you chose to preserve the pronoun HE that your supervisor had erased.
If you are stubborn genius and you need nobody's advice, then you may reject all changes
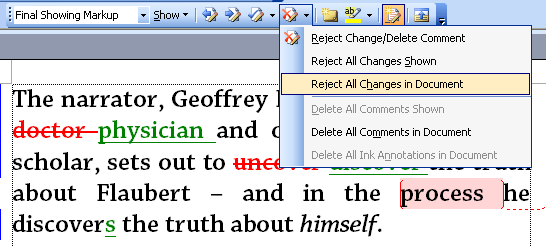
After you reviewed all the changes your text will look like this.
Note that all the markup signs have disappeared, as you either accepted or rejected the changes. Now, do not forget to save the document!
THE SUPERVISOR'S COMMENTS
It is possible for both you and your supervisor to insert comments or annotations to you documments.
The new Reveiw Toolbar has a button to insert comment:
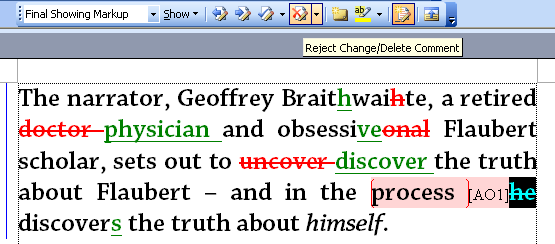
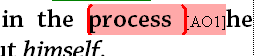
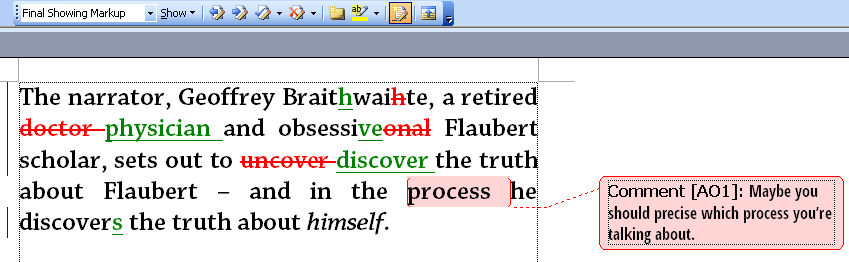
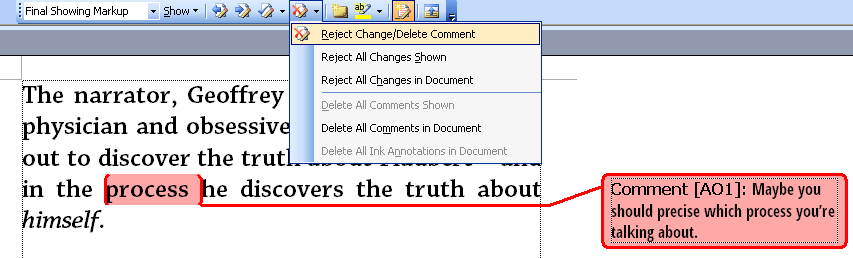
In the text, the comments are marked by a coloured background and the reviewer's initials:
Typically the comment can be viewed in small coloured baloons inserted on the right-hand margin of your documents, like this:
The initials before the comment (in this case AO) indicate the author of the comment. If several people work on the same document (like two supervisors, or a supervisor and a proofreader), you will distinguish them by their different initials.
When revision your text, after you follow (or not) the advice suggested by the comments, you need to delete them one by one. You do this by using the same button as for rejecting changes:
TO TRACK DOWN YOUR OWN CHANGES
Track Changes can also be used to track down your own changes. This is very useful when you make changes you are not sure about (like it's 3 o'clock in the morning, your head is spinning. you think all you wrote is worthless, and then you begin to erase. The next day, the sun is shining, your optimism is back, and you realize you butchered the most precious part of your work!)If you use Word 2007 or Word 2010, the operation is identical with the one described above. Only the way of opening the Track Changes toolbar is different.All you need to know is How to start Track Changes by yourself.
Easy done! There's a silent mode and a noisy mode.The "Silent" Mode does not display the Review toolbar, and yet Track Changes works in the background. Point your attention to the lowermost part of the Word window. It is the part called Status Bar, the one wehre you can see the page number. At its middle there are a few three-letter symbols. One is TRK, and it looks like this:
. Note that the word TRK is grayed out (dimmed), which indicates that Track Changes is OFF, that is NOT WORKING.
To activate it, all you need to do is to double click the TRK symbol, which will turn black, like this:
, which indicated it is now ON.
From this point on any changes you make will be recorded by Track Changes.
If you wish to turn it off, double click TRK again, until it turns gray.
The "Noisy" Mode works with the Review toolbar displayed. To open that toolbar, follow the procedures shown at the beginning of this tutorial. Then just press the penultimate button, the Track Changes On/Off button
Word 2007 - a brief tutorial from Florida State Unversity or another one at Proofreading.com, or a video tutorial on youtube.
Word 2010 - a video tutorial on youtube. Another image-based tutorial at AddictiveTips and a much better one at Louisiana State University.